
Last updated November 2, 2026
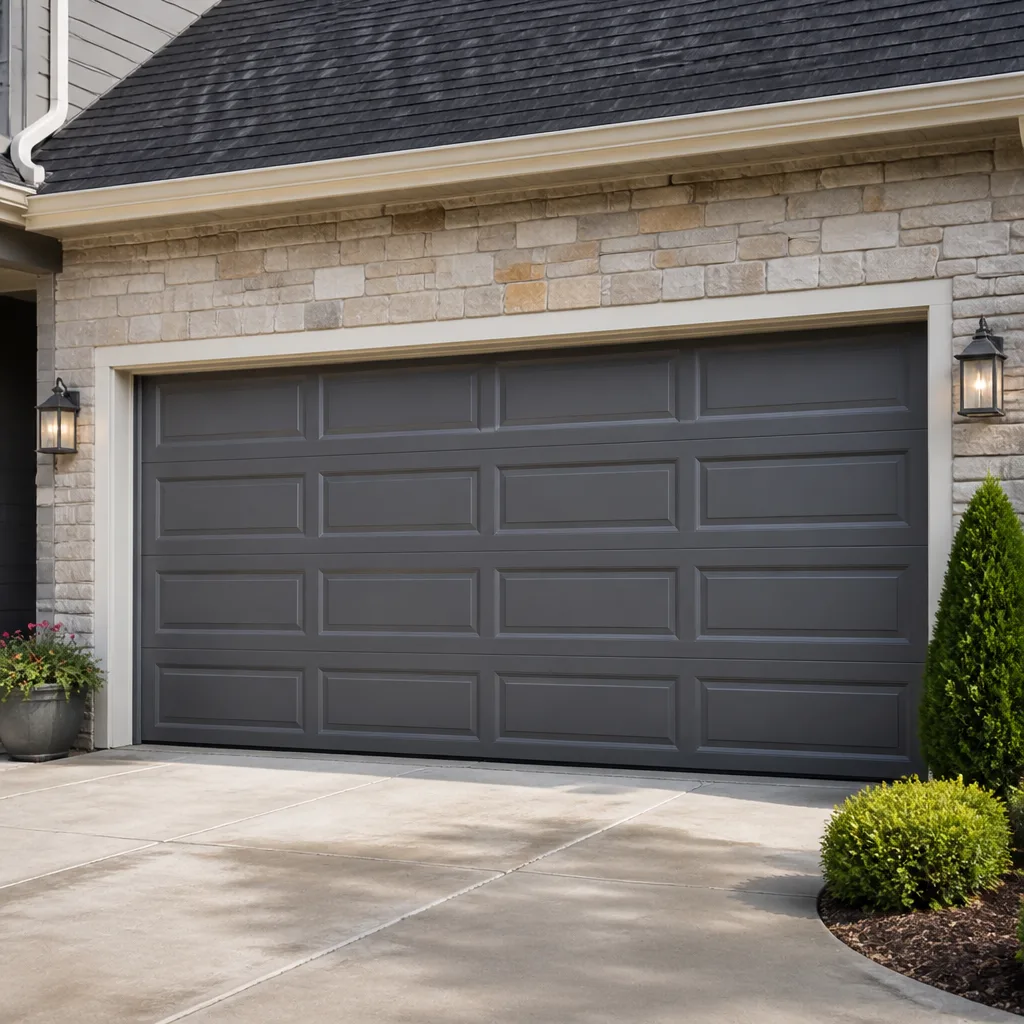 Raised-panel steel
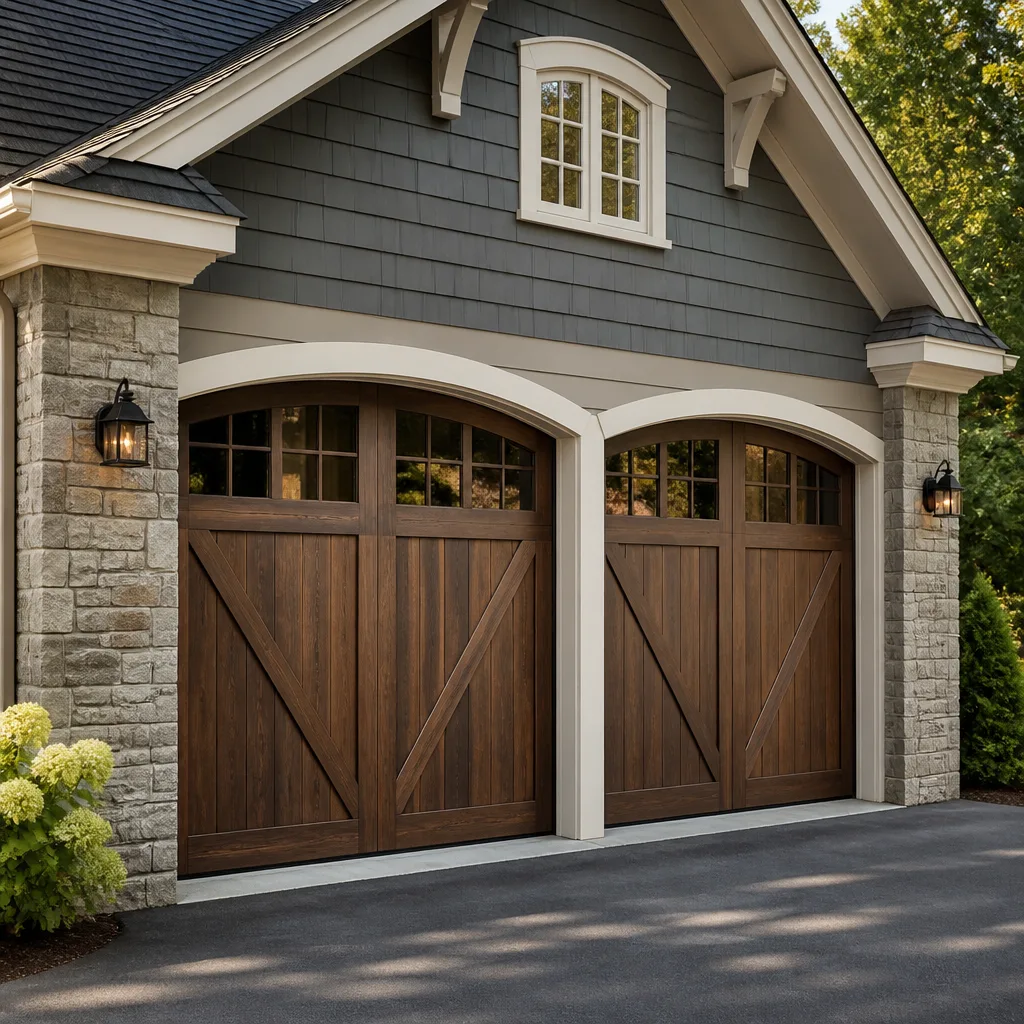 Carriage house
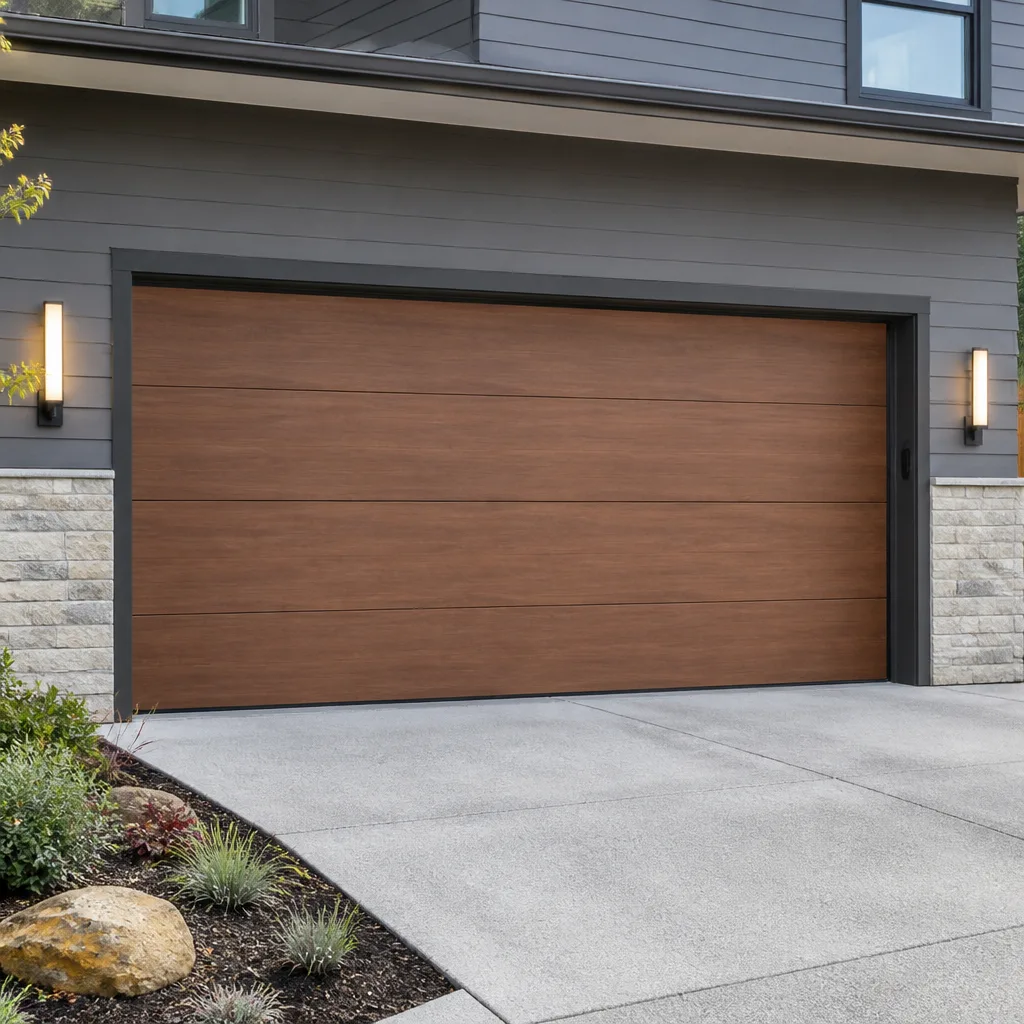 Modern flush
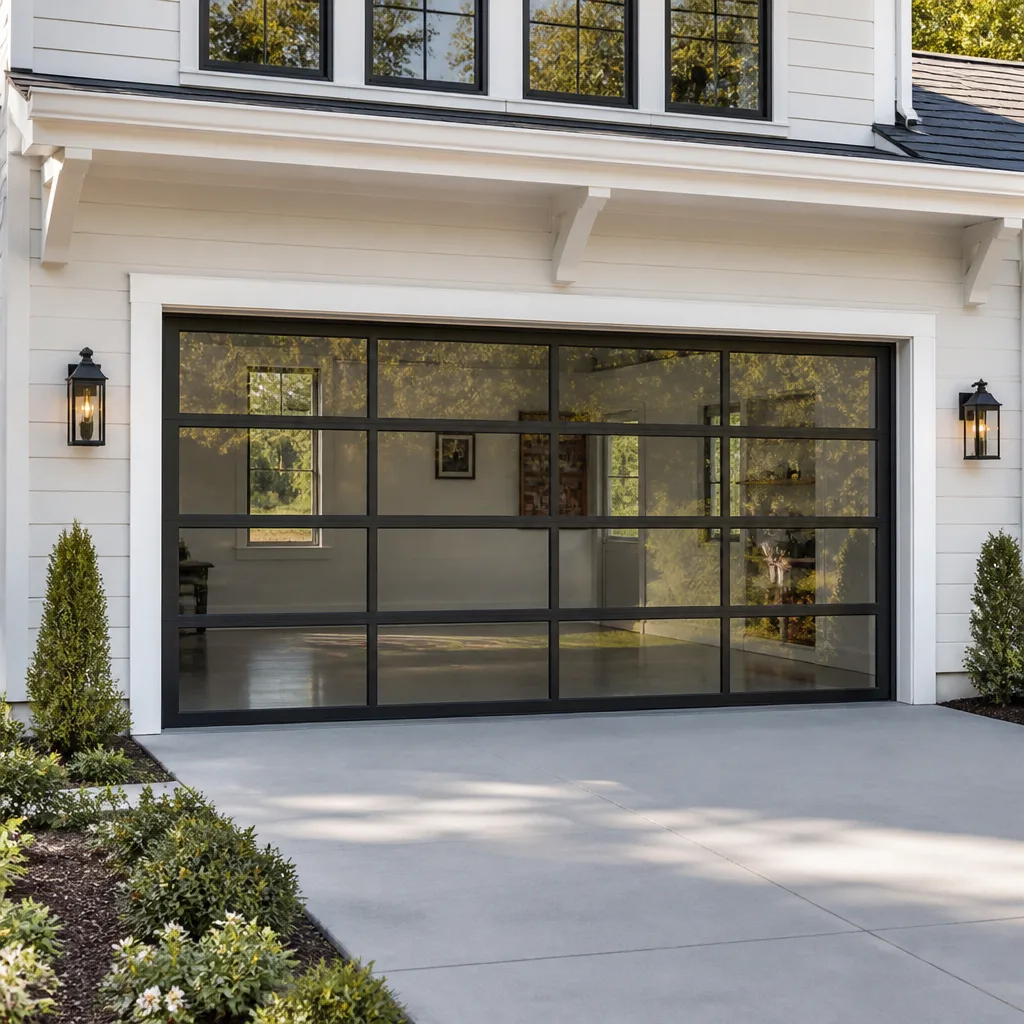 Full-view glass
 LiftMaster openers
 Chamberlain openers
Full 25-point door and opener safety check with every visit - springs, cables, rollers, tracks, and your LiftMaster or Chamberlain opener included
You get a price before we start. It does not change when the truck arrives.
Get your free estimateGarage Door Repair Troubleshooting: Common Problems and How to Fix Them
The most expensive garage door repair is the one that fixes the wrong component. A homeowner in Placentia hears a grinding noise, assumes the opener motor is failing, replaces it for $400, and the grinding returns a week later because the real culprit was a worn bearing in a roller that costs $14. This guide exists to stop that cycle. We’re going to walk through the diagnostic method our technicians use every day: identifying whether a problem is mechanical, electrical, or a matter of calibration, then isolating the specific component before any money gets spent. By the end, you’ll know which problems you can safely handle yourself and which ones need a trained eye before they become an emergency.
Styles & brands we work with
- Raised-panel steel
- Carriage house
- Modern flush
- Full-view glass
- LiftMaster openers
- Chamberlain openers
Quick Answer
Garage door troubleshooting comes down to sorting the symptom into one of three root causes: a mechanical failure in the door itself, an electrical failure in the opener or sensors, or a calibration issue where working parts are simply out of adjustment. The most common culprits across all brands are broken springs, misaligned photo eyes, track obstructions, worn rollers, and opener force settings – issues our Garage Door Repair services handle daily. Start with the cheapest and safest checks first, and never touch torsion springs yourself.
Table of Contents
- The Five Components Behind Over 80% of Garage Door Failures
- Mechanical Symptoms: What the Door Itself Is Telling You
- Electrical Symptoms: Opener, Sensors, and Wiring
- Calibration Symptoms: When Nothing Is Broken but Nothing Works
- Reading Your Opener’s Blink Codes: LiftMaster, Genie, and Others
- Safe Physical Tests You Can Perform This Weekend
- The Correct Repair Sequence: Why Order Matters
- Common Mistakes to Avoid
- When to Call a Professional
- Frequently Asked Questions
- The Bottom Line
The Five Components Behind Over 80% of Garage Door Failures
Before diving into symptoms, it helps to know the cast of characters. In our service work across Placentia, when a door misbehaves, the problem traces to one of five components far more often than anything else. Understanding what each one does makes every diagnostic step that follows clearer.
1. Torsion Springs
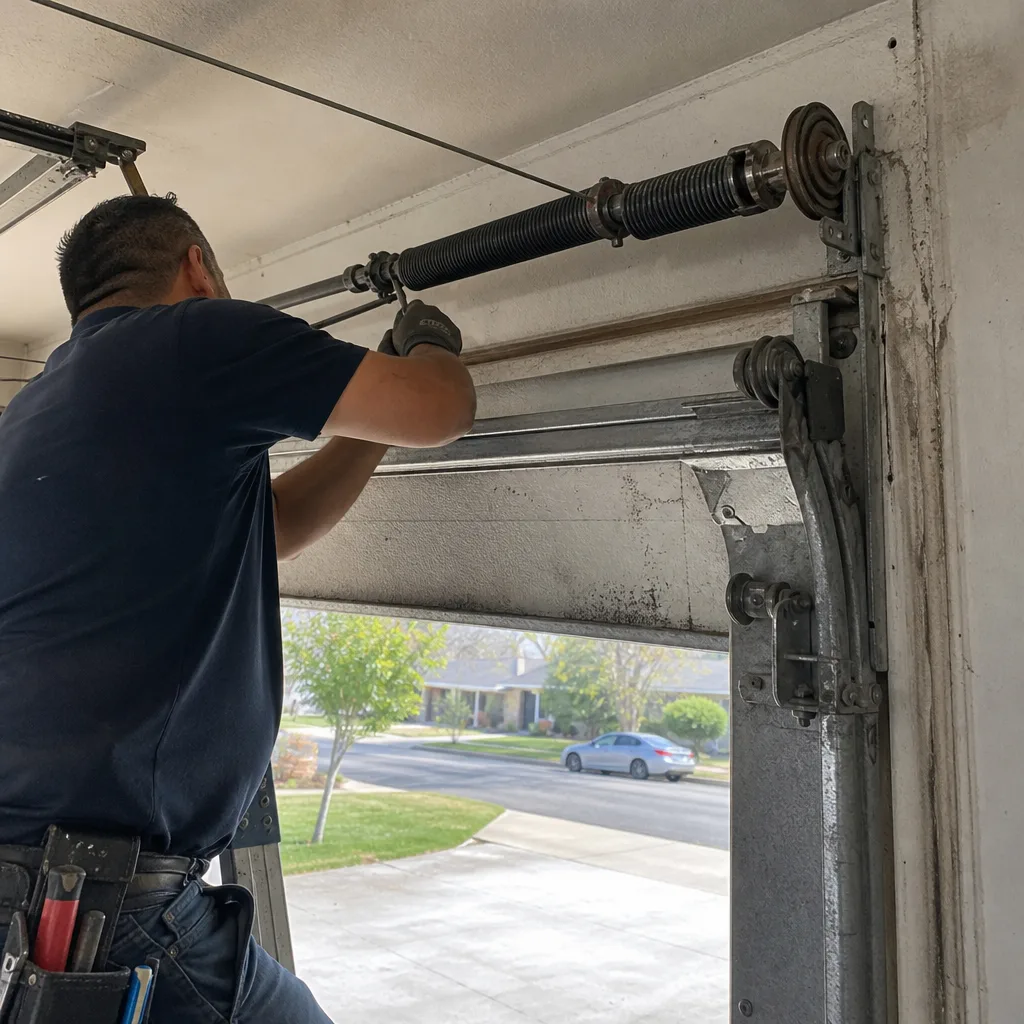
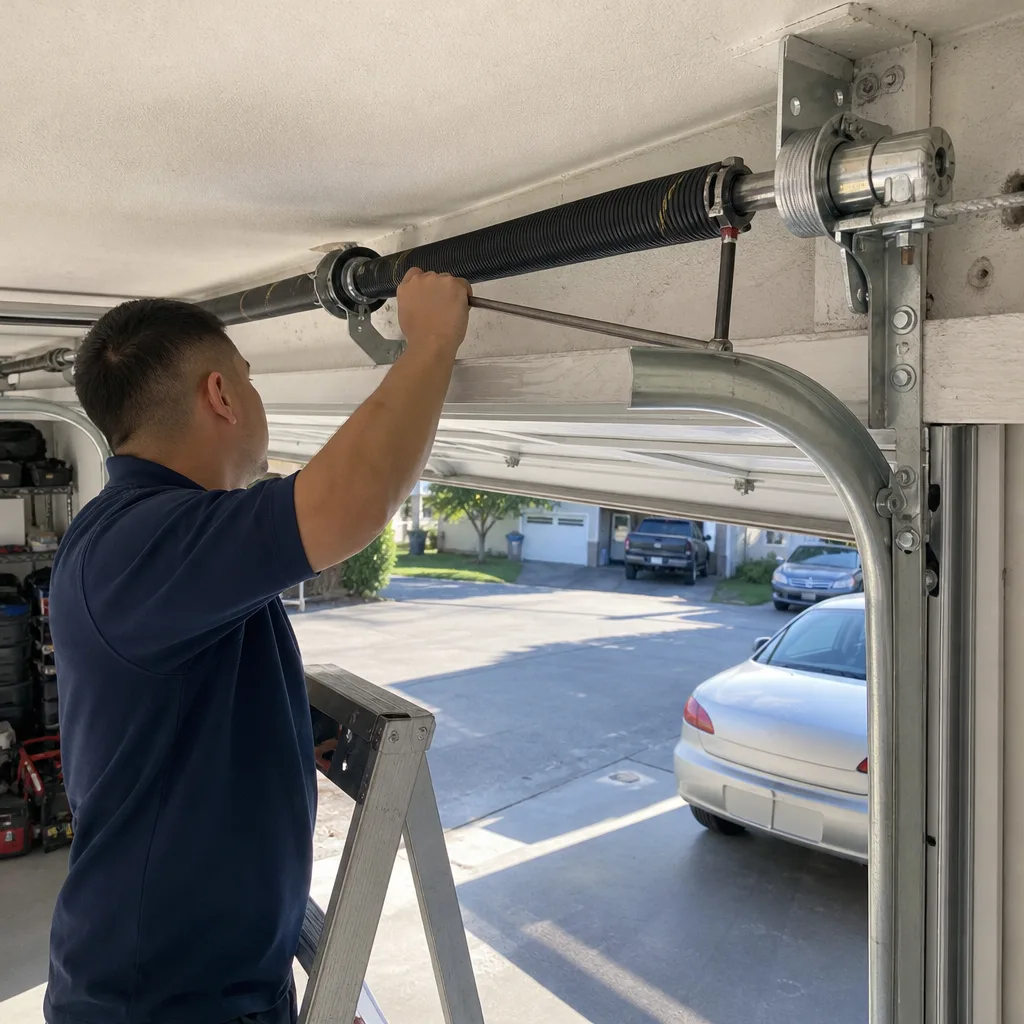
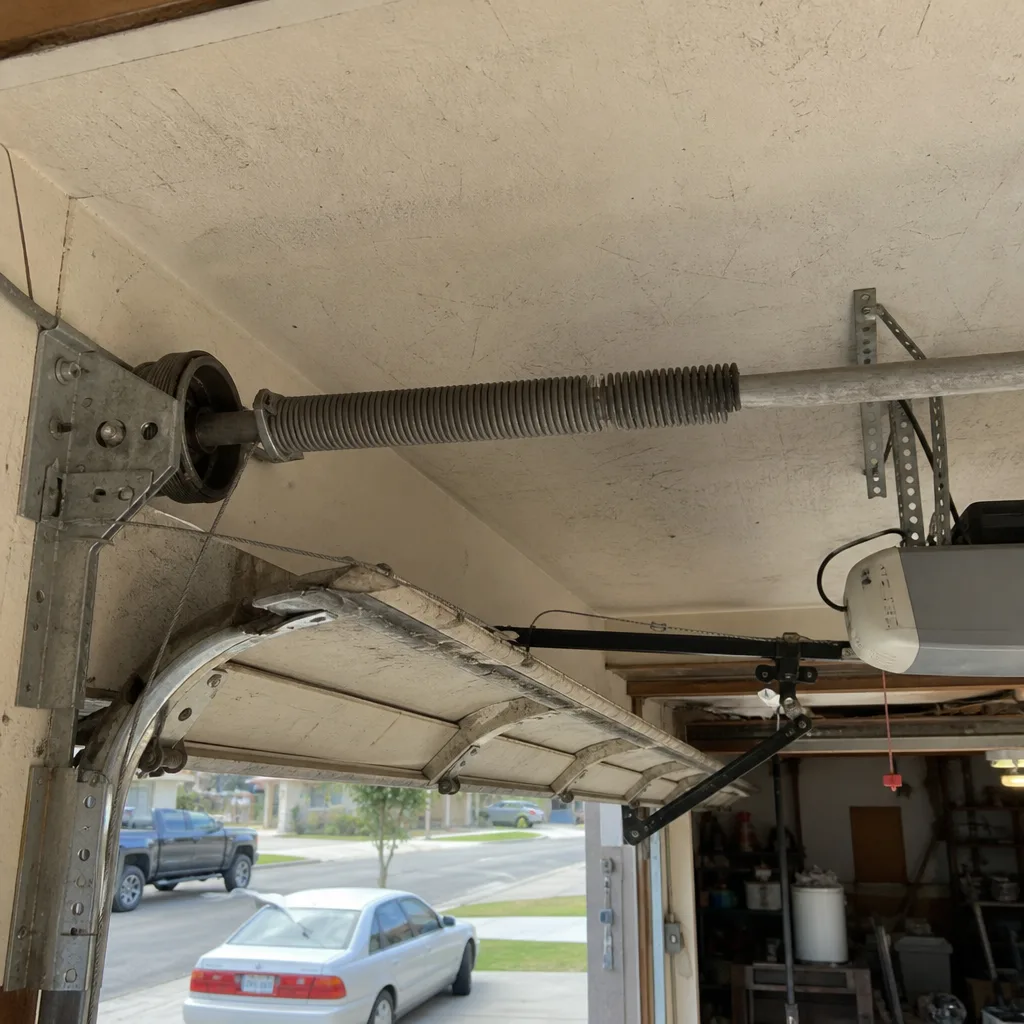
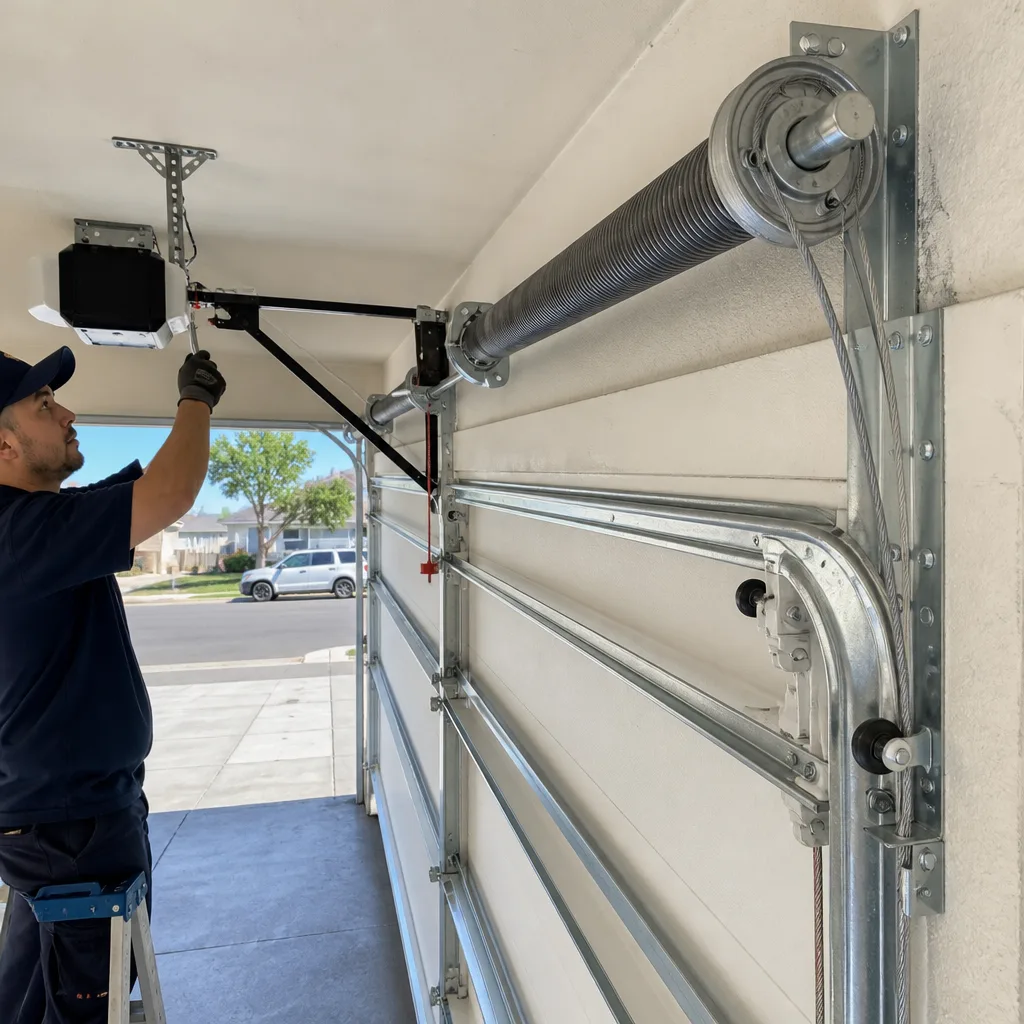
The torsion spring is the metal coil mounted above the closed door. It stores the counterbalance energy that makes a 150-pound door feel like it weighs 30. A torsion spring that snaps makes a sound like a firecracker going off inside your garage. When it fails, the door becomes dead weight, and the opener motor will strain or refuse to move it at all. Springs are rated for a finite number of cycles, not years. A spring rated for 10,000 cycles will last about 7 years if you open and close the door 4 times a day. Budget springs rated for 5,000 cycles wear out faster. This is a wear item, not a defect.
2. Photo Eye Sensors
These are the small units mounted about 6 inches off the floor on either side of the door opening. They project an invisible infrared beam across the threshold. If anything breaks that beam while the door is closing, the door reverses. The sensors are simple, but they’re also easily knocked out of alignment by a bump from a trash can, a bicycle, or years of vibration. They’re the most common false alarm in garage door troubleshooting.
3. Rollers and Hinges
The door rides on a set of rollers, usually 10 to 12 of them, attached to the door panels with hinges. Rollers wear out. Nylon rollers crack, steel rollers grind, and ball bearings seize. A door that feels rough or jerky when operated manually is almost always a roller or hinge problem. This is also the least expensive component group to address, which is why diagnosis matters so much.
4. Track and Alignment
The vertical and horizontal tracks guide the door’s path. A track that’s bent, loose, or misaligned can cause the door to stick, bind, or come off its path entirely. In Placentia’s dry summer heat, metal tracks expand and contract, and fasteners work loose over time. A track problem left unaddressed turns into a roller problem, which turns into a panel problem.
5. Opener Logic Board and Travel Module
The opener is a small computer attached to a motor. It reads inputs from sensors, wall buttons, and remotes, and it translates those into motor action. The logic board stores the travel limits and force settings. When the board fails or loses its settings, the door opens partway, reverses for no reason, or ignores the remote. On LiftMaster and Genie units, the board also communicates failure conditions through blinking LEDs. The fix is often a reprogramming procedure, not a hardware swap.
Mechanical Symptoms: What the Door Itself Is Telling You
Mechanical problems announce themselves through sound, resistance, and uneven movement. The diagnostic principle is simple: if the symptom changes when you operate the door by hand, the problem is in the door, not the opener. Pull the emergency release cord and try the following observations.
The Door Feels Heavy or Won’t Lift Manually
A properly balanced door, disconnected from the opener, should lift with one hand and hold position about halfway up the track. If it takes two hands and serious effort, or if it drops when you let go, the torsion spring is broken or the spring tension is gone. This is not a lubrication problem. Do not force the door. A door with a broken spring can weigh 150 to 300 pounds, and if it slips from your grip, it can cause serious injury. This is the one scenario where the safest troubleshooting step is to stop touching the door and call a professional from our Garage Door Repair in Valinda team or the Rosewood crew.
Grinding, Squealing, or Scraping
Sound is a diagnostic tool. A grinding noise that happens every time the door moves is usually a seized roller bearing. A squeal that happens at the same point in the travel cycle is often a hinge pin that has gone dry or a roller wheel that has stopped spinning and is now dragging along the track. A scraping sound along the side is typically the door panel contacting the track due to misalignment. Spraying WD-40 on everything is a temporary bandage that washes out and attracts dirt. The right fix is identifying which specific roller or hinge is making the noise and replacing it.
Door Sits Crooked or Binds Partway
A door that closes unevenly, leaving a gap on one side at the floor, has a cable or spring problem. The lifting cables attached to the bottom corners must travel in perfect sync. When one cable frays or one spring loses tension unevenly, the door lifts at an angle. Continuing to operate a crooked door bends tracks, breaks hinges, and can yank a cable off its drum. In our experience servicing Placentia homes, a crooked door is a call-us-today situation, not a monitor-it situation.
Door Comes Off the Track
A door that jumps off the track has already progressed past the troubleshooting stage. The rollers are out of their channel, and the door is resting on whatever it can find. Attempting to force it back into place without first restoring spring tension and checking the track for bends can result in the whole door crashing down. Shut the door area off, keep everyone away, and call a professional. The team at Rosewood Garage Door Repair home handles off-track doors regularly, and the first step is always stabilizing the door before any repair work begins.
Electrical Symptoms: Opener, Sensors, and Wiring
Electrical problems are trickier because they imitate mechanical ones. A door that won’t open could be a dead motor or a disconnected wire. A door that reverses could be a sensor issue or a force-setting issue. The systematic approach is to test the simplest electrical causes first, in order of likelihood.
Door Reverses Before Touching the Ground
This is the most common electrical symptom, and it has three distinct causes. The first is a photo eye obstruction: something is in the beam’s path, the eyes are misaligned, or the lenses are dirty. Clean the lenses with a dry cloth and check that both units face each other squarely. The second cause is a force-setting problem: the opener’s downward force limit is set too low, so the motor senses its own effort as an obstruction and reverses. The third cause is a track obstruction or a door out of balance, which makes the motor work harder than the limit allows. The correct diagnostic order is sensors first, then force settings, then door balance.
Remote or Wall Button Does Nothing
When the wall button works but the remote doesn’t, the problem is in the remote, its battery, or the opener’s receiver. Replace the battery first, check that the remote is the correct model for the opener, and attempt a reprogram. When neither the remote nor the wall button works, check the opener’s power source: the outlet, the GFCI trip, and the circuit breaker. A surge can trip the GFCI that supplies the opener. A door that works from the wall but not the remote on a Genie or LiftMaster unit can also mean the logic board’s receiver circuit has failed.
Opener Runs but Door Doesn’t Move
If the motor hums but the door stays put, the emergency release cord has likely been pulled, disconnecting the door from the trolley. Reconnecting it is a simple procedure that your opener’s manual covers. If the motor hums and the trolley moves but the door doesn’t, the trolley’s connection to the door arm may have broken or the gear inside the opener may have stripped. A stripped gear is common on older Craftsman and Chamberlain units after years of wear. The gear kit is replaceable, and a technician can confirm the diagnosis in minutes.
Opener Works Intermittently
Intermittent electrical problems are the most frustrating to diagnose because they refuse to repeat on command. The usual suspects are a failing capacitor, a loose wire at the wall button or the sensor terminals, or a logic board overheating. In Placentia’s summer months, we see more intermittent opener failures because garage temperatures routinely exceed 110 degrees, and heat accelerates electronic component degradation. If the problem comes and goes with the weather, the board or capacitor is the likely culprit.
Calibration Symptoms: When Nothing Is Broken but Nothing Works
Calibration problems are the sleeping giant of garage door troubleshooting. Every component is intact. The springs are fine, the sensors are clean, the motor runs. But the door behaves erratically because the opener’s internal settings no longer match the physical reality of the door. These are also the issues a homeowner can often correct with a screwdriver and the opener manual.
Door Opens Partway and Stops
The opener’s travel limits tell the motor where the door’s open and closed positions are. When the limits are set incorrectly, the motor stops mid-cycle because it thinks the door has reached the end of its travel. The fix is reprogramming the limits per your opener’s manual. On a LiftMaster with a learn button, you hold the adjustment button and run the door to the correct position, then lock it in. On a Genie, the procedure uses the up and down arrow buttons near the terminal strip. The manual for your specific model is the authoritative guide.
Door Closes Then Immediately Reopens
This is the door reversing at the floor, and it has one calibration cause that gets overlooked: the close limit is set too far, so the opener drives the door into the floor until the force sensor trips. The opener interprets the impact as an obstruction and reverses. The symptom looks identical to a sensor problem, but the fix is adjusting the close travel limit up by a half inch. Before touching anything, observe whether the door contacts the ground and then reverses, or reverses while still several inches above the ground. The former suggests limits; the latter suggests sensors or force settings.
Force Settings Too High or Too Low
Force settings control how much resistance the opener tolerates before it stops or reverses. Too low, and the door reverses constantly. Too high, and the opener will push through a genuine obstruction, which is a safety hazard. Any time force settings need adjustment, the door’s balance should be checked first. Raising the force to compensate for a door that’s becoming heavy is a bandage that masks a spring losing tension. The right fix is restoring balance, then setting force appropriately.
Remote Range Shrinks
If your remote used to open the door from the end of the street and now only works from the driveway, the issue is signal interference or battery drain. LED bulbs installed in the opener or nearby garage fixtures are a known interference source for the 315 MHz and 390 MHz frequencies used by LiftMaster, Genie, and Chamberlain openers. Try turning off the LED bulb and testing the range. If the range returns, swap in a bulb designed for garage door openers. If the range is still short, replace the remote battery and check the opener antenna wire, which should hang straight down from the unit.
Reading Your Opener’s Blink Codes: LiftMaster, Genie, and Others
Modern openers communicate through LEDs: a series of blinks or flashes on the opener unit or the wall panel that correspond to a diagnostic code. Understanding these codes turns a vague “something’s wrong” into a specific component. The exact code list varies by manufacturer and model year, so keep your manual nearby, but the patterns below cover common failures.
LiftMaster and Chamberlain Blink Codes
LiftMaster units use the learn button light and the diagnostic LED to flash codes. One blink typically means the sensors are misaligned or obstructed. Two blinks often indicate a short in the sensor wiring or a reversed wire connection. Four blinks commonly point to a sensor obstruction that’s persistent, or a sensor that has failed. Five blinks signal a motor overheat condition, which resets after a cooling period. On units with Security+ 2.0, the codes appear via an up and down arrow sequence on the wall panel, with the arrow direction and count mapping to a specific fault.
Genie Blink Codes
Genie openers often use red and green LEDs. A solid red light on the powerhead with the door not moving can indicate a vacation lock is engaged at the wall console. A red light that blinks in a specific pattern corresponds to a table in the manual. The most common Genie code on older models is four blinks, which points to the Safe-T-Beam sensors. Genie’s newer units with the wall console display show an alphanumeric error code that the manual decodes directly. The brand-specific logic matters: a Genie unit may blink for a condition that a LiftMaster reports differently, so reading the wrong table leads to the wrong repair.
Other Brand Patterns
Craftsman openers historically used the same manufacturer platform as Chamberlain for many model years, so the blink patterns are similar. Wayne Dalton and Raynor doors themselves are mechanical systems, and when paired with an opener from a third party, the opener’s brand determines the code interpretation. When we service a Raynor door with a Genie opener in a Placentia home, we diagnose the opener codes per Genie’s table and the door mechanicals per Raynor’s design. The two systems speak different languages.
Safe Physical Tests You Can Perform This Weekend
The following tests are what our technicians do on arrival, and they’re safe for a homeowner to perform with basic caution. None of them involve touching the torsion spring or removing cables. If any test result indicates a serious problem, stop and call. For opener-specific issues, our Garage Door Opener Repair in Valinda page covers the electronic side in depth.
Test 1: The Balance Test
- Close the door completely.
- Pull the emergency release cord straight down until it disengages the trolley.
- Lift the door by the handle or bottom edge. It should rise smoothly and stay at the halfway point without help.
- Raise it fully, then lower it slowly. It should descend without slamming and without fighting you.
A door that drops when released at the halfway point has spring problems. A door that binds at a specific point has a track or roller problem. Either way, reconnect the door to the opener and stop using it until the issue is addressed.
Test 2: The Visual Track Inspection
- With the door closed, stand inside the garage and look along both vertical tracks.
- Check for gaps between the track and the wall brackets. A track pulling away from the wall is a structural problem.
- Look at the roller wheels. Each wheel should sit fully inside the track channel, with no visible gap.
- Check the track’s shape. Any bend, kink, or flat spot will catch a roller and cause binding.
Test 3: The Sensor Alignment Check
- Locate the two photo eye sensors on both sides of the door opening.
- Check that both sensor lenses point directly at each other. A string pulled taut between them should pass through both lens centers.
- Look at the LED on each sensor. On most brands, a solid green or amber light means the beam is intact and alignment is good.
- A flickering or unlit LED means misalignment, a dirty lens, or a wiring issue.
Cleaning the lenses and gently adjusting the sensor brackets back into alignment resolves a large percentage of “door reverses for no reason” complaints.
The Correct Repair Sequence: Why Order Matters
The most common path to a repeat failure is fixing the symptom before addressing the underlying cause. A door that’s out of balance will destroy a new opener within months. New rollers installed on a bent track will wear out prematurely. The sequence below is the order our technicians follow in Placentia, and it’s the order that produces repairs that last.
Step 1: Stabilize the Door
Before any repair work, the door must be secured in place. If the springs are broken, the door is dead weight and must be held with clamps or locking pliers on the track. If the door is off the track, it must be stabilized before rollers are repositioned. A door that falls during repair is a life-threatening event.
Step 2: Restore Spring Tension and Balance
With the door stable, the torsion spring is replaced or adjusted to restore proper counterbalance. This step requires specialized winding bars and training. The correct tension is verified with the balance test before moving on. A door that is not balanced before the opener is reconnected will eventually destroy the opener’s gear or motor.
Step 3: Repair or Replace Structural Components
With the door balanced, the track alignment, hinges, rollers, and cables are addressed. Bent tracks are straightened or replaced. Worn rollers are swapped for new ones. Any cable fraying is addressed now, before the new spring puts tension back on the system.
Step 4: Reconnect and Calibrate the Opener
Only after the door moves freely does the opener get attention. The emergency release is reconnected, the travel limits are set, and the force settings are adjusted to match the now-balanced door. This step is where most DIY sequences fail: the opener gets programmed to compensate for a door problem, and the door problem eventually wins.
Step 5: Test the Complete Cycle
The final step is a full cycle test: open, close, reverse on obstruction, and sensor test. We run the door through at least four complete cycles while listening for changes in sound or movement. A fix that survives the test cycle is a fix that will hold.
Common Mistakes to Avoid
- Replacing the sensors when the springs are tired. Sensors get blamed for every reversing door. If the door is heavy to lift by hand, the reversing is a force-setting reaction to a balance problem, not a sensor issue.
- Lubricating a worn-out roller. Spraying silicone on a seized bearing quiets it for a day or two, then the grinding returns. A roller whose bearing is gone needs replacement, not lubrication.
- Adjusting the up-force to compensate for a weak spring. Cranking the opener’s force dial to push a heavy door masks spring wear until the spring snaps or the opener burns out. In Placentia’s garage temperature swings, this is a fast track to a bigger repair.
- Pulling the emergency release while the door is open. The release cord should be pulled when the door is closed. Pulling it with the door raised turns the full door weight loose, and a door with a broken spring will slam down.
- Tightening track bolts without checking alignment. Bolts that have worked loose usually did so because the track is under stress. Tightening them without correcting the alignment just moves the problem to the next connection point.
- Assuming all opener brands use the same reset procedure. A LiftMaster reset is not a Genie reset. Following the wrong procedure can clear your remote codes or create a new programming fault that wasn’t there before.
- Continuing to operate a door that’s making a new noise. New sounds are the door’s early warning system. A door that grinds rarely heals itself. It grinds a bearing into fragments that then damage the track.
When to Call a Professional
Some garage door problems are firmly in the call-a-professional category. Broken torsion springs require specialized winding tools and carry a genuine risk of severe injury if mishandled. A door off its track needs the weight managed before any repair begins. A frayed lifting cable under tension can snap and whip. Any issue involving the door’s balance or the spring system warrants a trained technician. For guidance on selecting the right company, see How to Hire a Garage Door Contractor in Placentia: A Step-by-Step Guide. Rosewood Garage Door Repair offers free estimates in Placentia – call (855) 382-4857 and we’ll diagnose the problem at your door, with the price quoted and agreed before any work starts.
For homeowners weighing repair against replacement, our Garage Door Installation in Valinda page covers what a new door system involves, from measurement to final calibration.
Frequently Asked Questions
A garage door that reverses before closing usually has a photo eye sensor problem, an obstruction in the beam path, or a down-force setting that’s too low for the door’s actual weight. Check the sensor alignment and clean the lenses first, then test the door’s manual balance before adjusting any opener settings.
Garage door repair in Placentia typically ranges from $120 to $350 depending on the component, with roller replacement on the lower end and torsion spring replacement on the higher end. The exact price depends on the door’s brand, age, and the specific parts required. Call (855) 382-4857 for a free estimate with the price quoted and agreed before work begins.
Replacing a torsion spring yourself is not recommended. The spring holds several hundred pounds of tension, and a winding bar slipping under load can cause serious injury or death. Extension springs are only slightly less dangerous. This is a repair that justifies professional labor every time.
When the opener motor runs but the door stays put, either the emergency release cord has been pulled and the trolley is no longer connected to the door, or the opener’s drive gear has stripped. Reconnect the release per your manual, and if the problem persists, the gear needs replacement.
A garage door system should be inspected and lubricated once a year, with roller and hinge checks included. Placentia’s heat and dust accelerate component wear, so annual service is the minimum for a door that cycles four or more times daily.
Yes, most openers work with doors from different manufacturers as long as the opener’s travel and force settings are correctly programmed for the new door’s weight and balance. Rosewood technicians work on LiftMaster, Chamberlain, Genie, Clopay, Amarr, Wayne Dalton, Craftsman, and Raynor, so the opener and door can be serviced as a matched system without a second call. For more guides & resources, visit our blog.
The Bottom Line
Garage door troubleshooting is a process of elimination that works best when you sort symptoms by cause: mechanical, electrical, or calibration. The five components that drive most failures are springs, sensors, rollers, tracks, and opener settings. Safe tests like the balance check and sensor alignment will identify most problems without touching anything dangerous. And the repair sequence matters: restore balance before programming the opener, or the fix won’t stick. When the problem goes beyond a dirty sensor lens or a fresh battery, Rosewood Garage Door Repair is the garage door specialist in Placentia that handles the door, the opener, and the installation in one call.
Written by the team at Rosewood Garage Door Repair, serving Placentia since 2018.
See the difference
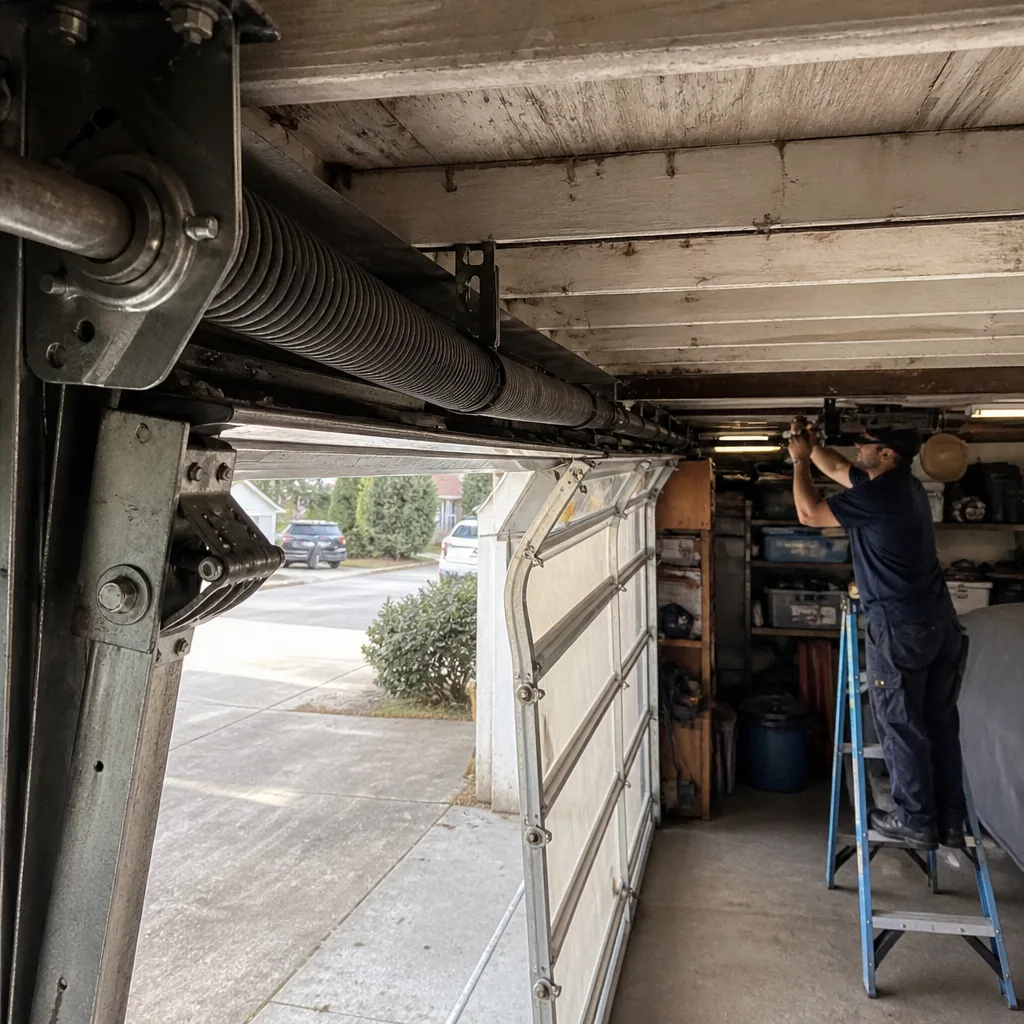 Before
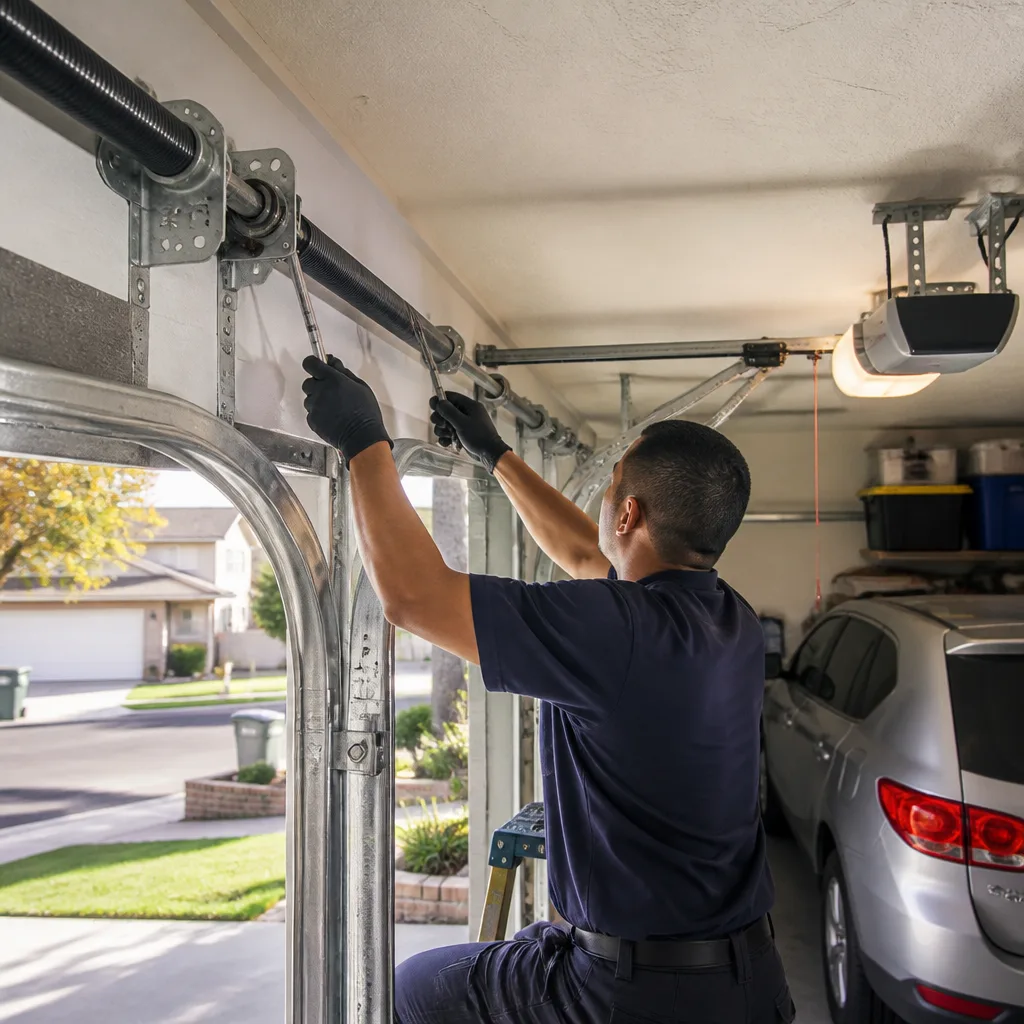 After
 Before
 After
 Before
 After